Homemade Sugar Scrub for Smooth Skin
- Joey Joy
- Nov 27, 2024
- 3 min read

Are you tired of dry, flaky skin and looking for a budget-friendly way to achieve a silky smooth texture? If so, it’s time to create your own homemade sugar scrub! This fun DIY project not only enhances your skincare routine but also gives you spa-like results right in your own home. In this post, we will explore the impressive benefits of sugar scrubs, provide easy recipes, and show you how to enjoy salon-quality skin.
Why Sugar Scrubs?
Sugar scrubs have become a go-to item in the skincare community, and their popularity is well-deserved. They gently exfoliate the skin by sweeping away dead skin cells and allowing fresh, vibrant skin to shine through. Studies suggest that regular exfoliation can improve skin texture and clarity by up to 30 percent, helping reduce the visibility of blemishes and dark spots. Besides, sugar is a natural humectant, meaning it helps maintain moisture, which is essential for healthy skin.
Incorporating a sugar scrub into your skincare routine just a couple of times a week can greatly improve your skin’s softness and smoothness.

The Benefits of Using Sugar Scrubs
Exfoliation
Exfoliating is vital for keeping skin looking fresh and healthy. Sugar scrubs deliver gentle but effective exfoliation that helps remove stubborn dry patches, allowing your skin to glow. Over time, this can result in a more even skin tone, with studies showing an improvement in smoothness and brightness after consistent use.
Hydration
Along with their exfoliating properties, sugar scrubs often include nourishing oils that hydrate the skin. For instance, coconut oil can increase skin moisture by up to 50 percent when applied regularly. This hydration enhances your skin's elasticity and overall appearance, making it especially beneficial for those with dry or sensitive skin.
Easy to Customize
One of the best things about homemade sugar scrubs is the endless possibilities. You can easily customize your scrub by adding various oils, scents, or nourishing ingredients. Whether you prefer honey for its antibacterial properties or essential oils for a burst of fragrance, the options are limitless.
Natural Ingredients
When you create your own sugar scrub, you are in control of the ingredients. This means no harmful additives or artificial fragrances, which can irritate the skin. If you have sensitivities, you can select gentle ingredients tailored specifically for your needs.
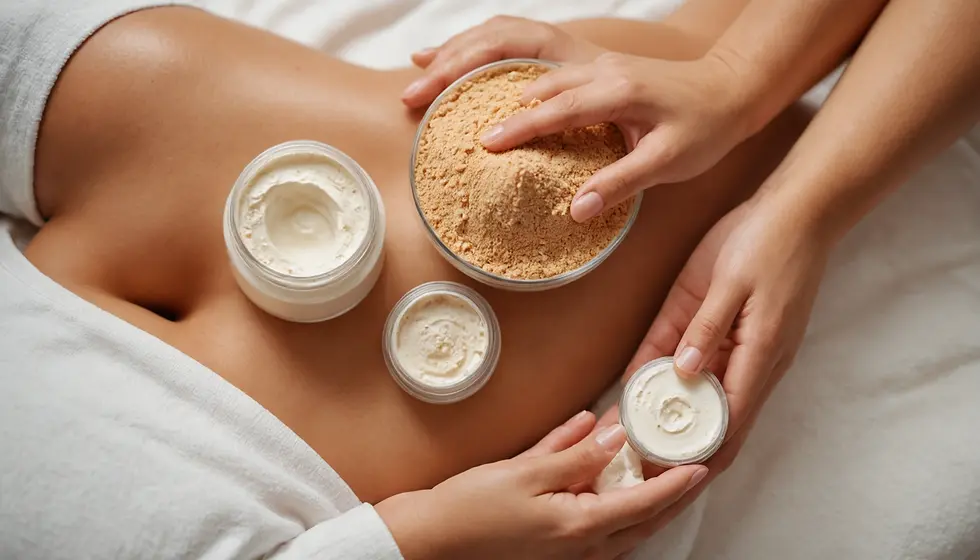
DIY Sugar Scrub Recipes
Classic Sugar Scrub
Ingredients:
1 cup granulated sugar
½ cup coconut oil (melted)
Optional: 10-15 drops of essential oil (lavender or peppermint work great)
Instructions:
In a mixing bowl, combine the sugar and melted coconut oil until mixed well.
If desired, add your chosen essential oil for an aromatic experience.
Store in a clean glass jar.
To use, apply a small amount to damp skin, massaging gently in circular motions. Rinse with warm water and pat dry.

Citrus Sugar Scrub
Ingredients:
1 cup granulated sugar
½ cup olive oil
Zest of 1 lemon or orange
Optional: 10-15 drops of citrus essential oil
Instructions:
In a bowl, mix the sugar and olive oil.
Stir in the citrus zest and optional essential oil.
Store in a jar and use just as you would the classic sugar scrub.
Coffee Sugar Scrub
Ingredients:
1 cup granulated sugar
½ cup coffee grounds
½ cup coconut oil (melted)
Instructions:
Combine the sugar and coffee grounds in a bowl.
Add the melted coconut oil and mix until well combined.
Store in a jar and use post-shower for an invigorating experience.
How to Use Your Sugar Scrub
To get the most out of your homemade sugar scrub, follow these easy steps:
Prep Your Skin: Step into the shower or bath and wet your skin to help the scrub glide on smoothly.
Apply the Scrub: Take a small scoop of the scrub and gently massage it onto your skin using circular motions. Focus on rough patches like elbows, knees, and feet for maximum benefit.
Rinse Off: Use warm water to wash the scrub away and enjoy your newly smooth skin.
Moisturize: Once you're done exfoliating, apply your favorite body lotion or oil to keep that hydration locked in.
Tips for Best Results
Frequency: Use a sugar scrub just 1-2 times a week for best results. Over-exfoliating can cause irritation.
Patch Test: Always do a patch test with new recipes to ensure you don’t have any adverse reactions.
Storage: Store scrubs in a cool, dry place and avoid introducing water into the jar. Most homemade scrubs can last 2-4 weeks.
Embrace Smooth Skin
Homemade sugar scrubs are an incredible way to pamper yourself and maintain soft, smooth skin without exposing yourself to harsh chemicals. With simple ingredients and customizable options, you can create scrubs tailored just for you.
Now that you have these delightful recipes and helpful tips, gather your supplies and start crafting your sugar scrubs at home. Enjoy the process and experience the wonderful changes in your skincare routine. Happy scrubbing!


Comments